Content management systems like Umbraco deliver extensive website management capabilities without ever needing to touch the codebase. Choosing which pages appear in the navigation menu should be a configurable feature, so let’s implement it.
In the Umbraco back office, create a document type by clicking on the Document Types ellipsis icon and selecting Create. I’ve named my document Master and unchecked Create matching template before creating the document.
Now select the Master document type and select the Tabs menu item. Add a tab named Navigation.
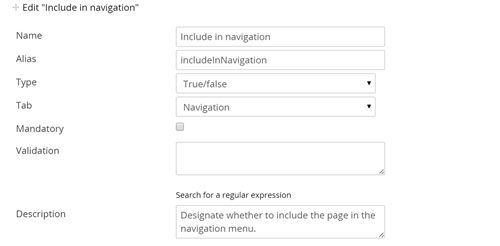
Select the Generic properties tab and add a new property with a name of Include in navigation, a type of True/false, and the tab field set to Navigation before saving the new property. See the image below for what this should look like.
To create a page composed from Master that will inherit the includeInNavigation property, click on the ellipsis that appears when you hover to the right of the Master document type, choose Create, name it, leave the field set to create a matching template, and create it.
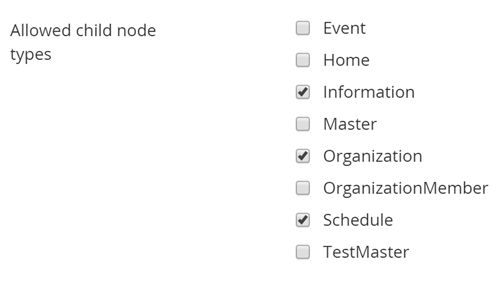
Once you have a couple of document types created, create another document type under Master named Home to serve as your home page. Under the Structure tab of this document type, set Allowed child nodes to the document types you created in the previous step, excluding Master. I’ve included an example below where I created pages for information, organization and schedule.
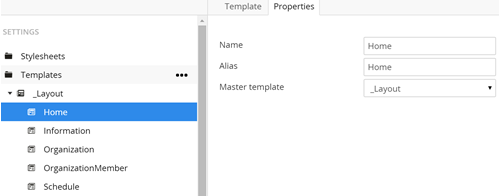
Now head over to the Templates section in the secondary main menu. If you don’t already have a base template, create one named _Layout by clicking on the ellipsis. You’ll want the other templates you created to use this base template as their Master template. Set it under each template’s Properties tab as shown in the image below.
Next, open your base layout template and add the navigation menu code as shown below. In the code, we grab the home page node and from this node grab its children, specifying that we want only the child nodes where the includeInNavigation property is set to True. From here, it is just a matter of iterating through the query results and adding them to the menu. I am using the Foundation top bar menu in this example.
@inherits Umbraco.Web.Mvc.UmbracoTemplatePage
@{
var homePage = Umbraco.TypedContentSingleAtXPath("//Home");
var menuItems = homePage.Children
.Where("IncludeInNavigation");
}
<div class="contain-to-grid">
<nav class="top-bar" data-topbar data-options="sticky_on: large" role="navigation">
<section class="top-bar-section">
@if (menuItems.Count() > 0)
{
<ul class="right">
<li class="divider"></li>
@foreach (var item in menuItems)
{
<li><a href="@item.Url">@item.Name</a></li>
<li class="divider"></li>
}
</ul>
}
</section>
</nav>
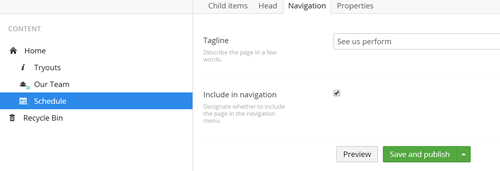
</div>The final step is to select the Content tab on the main menu and add a home page and a couple of child nodes with the includeInNavigation property set to true.